TOLERANCE AND REPORTING
Keystroke Magic | Part Programming | Coordinate Systems | Scanning
Probe Handling | Tolerance | Screen Layout | Software Options
 |
 |
 |
 |
 |
Tolerance:
 Geomet provides tolerancing for all measurements or for only those desired, during manual measurements or as part of programs. For any dimension, the nominal value and the related tolerances may be entered. The results will indicate this nominal and tolerance information and show deviation from nominal values along with deviation from tolerance, with a proportional graphic when in tolerance or an actual value when out of tolerance. This makes finding any out-of-tolerance condition very easy.
Tolerance formats include Bilateral and True Position, with support for RFS, MMC and LMC. Bonus tolerances are automatically calculated.
All major Geometric Dimensioning & Tolerancing (GD&T) evaluations are included.
GEOTOL functions access sub-routines for form tolerancing such as circularity, straightness and parallelism, etc.
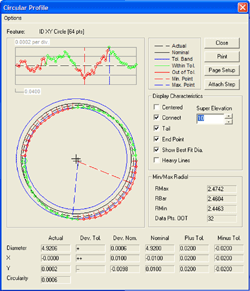
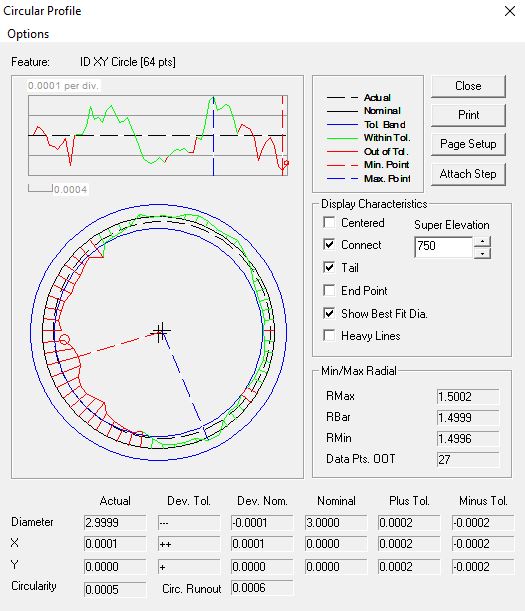
 Circles and Planes have tools that provide a visual, as well as analytical understanding of form
In the circle example here we see that some data points are outside the nominal boundary limits, although the reported XY position and diameter reported within the tolerance limits.
Process Control Tolerance:
 Once a part is found to be out of tolerance at the inspection station, it is too late. Process Control Tolerancing allows you to monitor production and alerts you when an important dimension or dimensions approach the tolerance limit. Three tolerance zones, to which you assign a percentage, give you three trigger levels, e.g.: (A) Everything is O.K.; (B) Keep an eye on it; or (C) Correction required.
Ordered Reports:
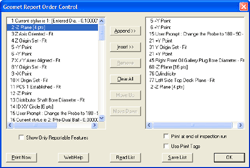
 The Custom Ordered Report allows the operator to control the printing sequence of features within Geomet 301. For example, the report may be constructed to place similar features together, without regard when they were originally added to the inspection report. In normal reports, the features are printed in the same order they were added to the inspection.
Concise Reports:
The Concise Report format is an efficient and condensed printed report of your inspection reports. This report format prints all standard essential inspection steps such as measured and constructed features eliminating program steps that deliver no final values such as stylus and changes, and PCS components, to name two.
The printout is designed to reduce paper usage by printing feature attributes up to 3 wide in a single row. This means a 2D Circle uses just one line of printed space.

